
| 5 Greater ensouled bar | 30 White marble* | 30 White oak* | 5 free inventory spaces | ||||
| 4 Basic ghostly ink | 10 Regular ghostly ink | 16 Greater ghostly ink | 12 Basic ritual candle |
| Broken focus | Congealed potion | Crystal shard | Damaged soul beacon | ||||
| Damaged soul beacon (base) | Damaged soul beacon (core) | Soul beacon | The Shadow Realm | ||||
| Zamorakian translator's notes | Zorgoth's Journal |
-
Speak to Aster in the Fort Forinthry Town Hall. Talk about quests, select Requiem for a Dragon, and accept the quest when prompted. You will learn that Vorkath is still "alive" and your neighbors find this to be a problem. You will need to visit Ungael and investigate.
-
READ THE NEXT STEP BEFORE YOU COMPLETE THIS ONE AS YOU WILL BE ATTACKED WHEN YOU ARRIVE!
Ensure that you have 5 free inventory spaces and whatever you need for combat with some unimportant enemies. For the most part you will just need to endure the damage they throw at you, but you can kill them to keep them from bothering you if you prefer.
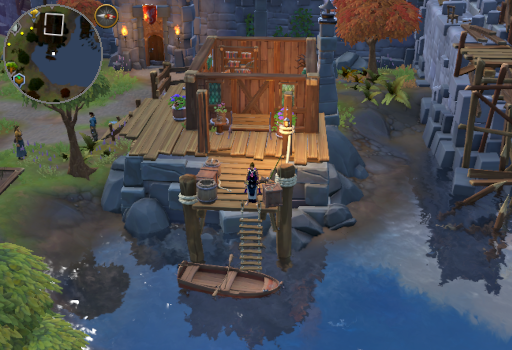
Make your way to the Grove cabin and use the rowboat docked there to travel to Ungael, choosing to continue the quest when prompted.
-
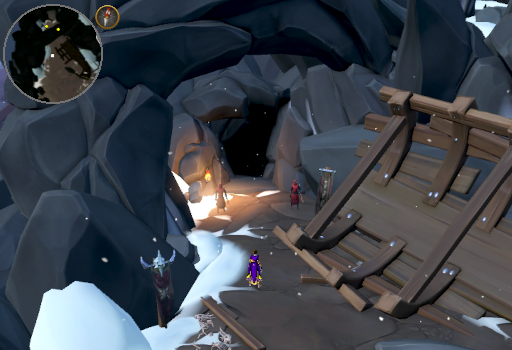
As previously mentioned, once you arrive you will be in the presence of several hostile Zamorakian scout. They do significant Ranged damage, so Protect/Deflect Ranged is helpful here. You can choose to kill them if you like, but you also can simply ignore them and run North West past them and enter the colossal cave.
Note: Dying here is considered a safe death. You will respawn by the Grove cabin rowboat with nothing lost. Additionally, if you choose to just run past and leave them there, they will remain in the area until the last time you return to Ungael.
-
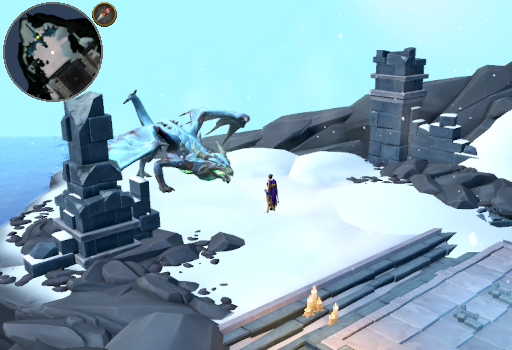
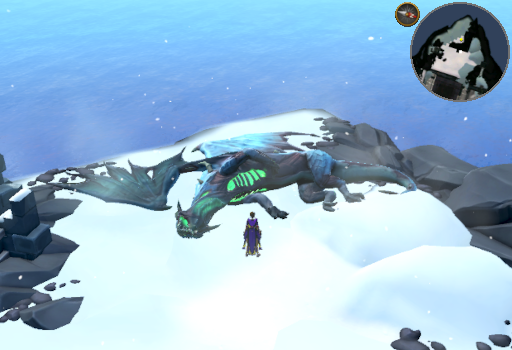
Follow the path North to the Ungael ritual site and click to approach Vorkath just West of it. Ultimately, you will need to choose the friendly or aggressive action path. Choosing the neutral one (Study the creature) mostly just leads back to the same options after providing a bit of flavor, except when your choices are just neutral and aggressive (5th choice). Regardless of your choices, Vorkath will not be able to pass on to the City of Um and will drop a Crystal shard which will appear in your inventory. Complete the dialogue then inspect the crystal.
-
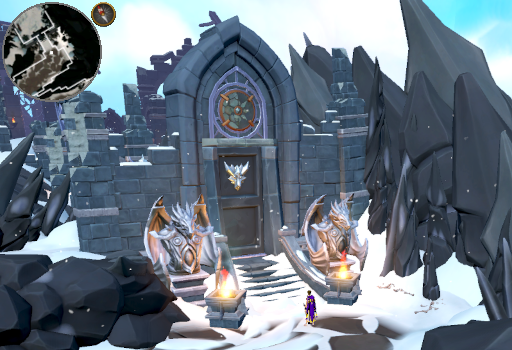
Head South, exiting the cave via the stairs, then North East to get into the Ungael ruins. Click the door to enter.
-
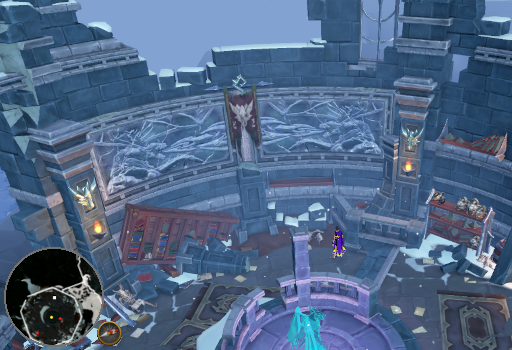
Continue North through the ruins until you reach an imposing statue then interact with the door on the South wall to pass through it.
-
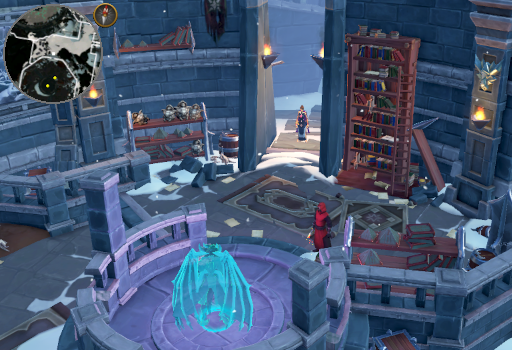
You will now have to undergo a short combat encounter. Continue West then South until you reach the Translator. Kill them and pick up the Zamorakian translator's notes that they drop and read them.
-
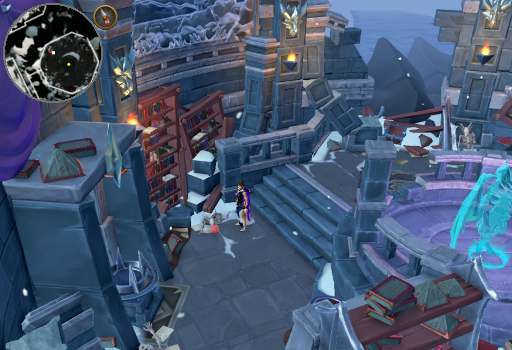
Search the bookcase on the North wall twice. Once to obtain Zorgoth's Journal and once to obtain The Shadow Realm. Read them both as well.

-
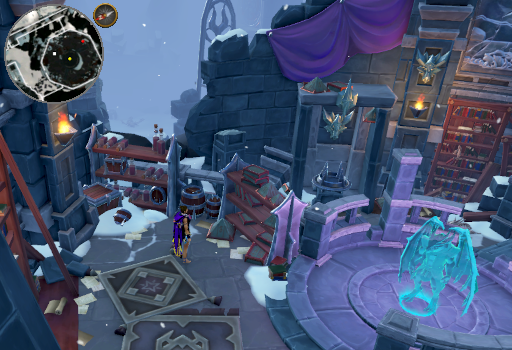
Search the shelves just South East of the bookcase to obtain a Broken focus then inspect it.
-
Walk West around the room and inspect the dragonkin mural on the West wall.
-
Continue around to the South of The Archivist and pick up the Congealed potion on the floor then inspect it.
-
With all items collected and looked at, walk back around to The Archivist and speak with them. Make sure you go through all the chat options (about the items) before you leave. The books can be tossed in your bank (for Post Quest) and the remainder of the items discarded now as they will not be used again.
-
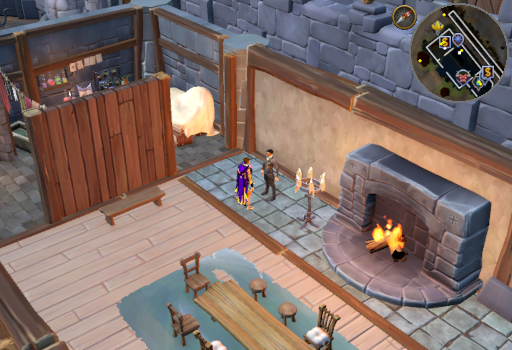
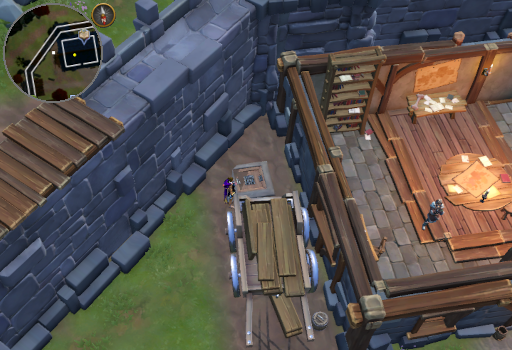
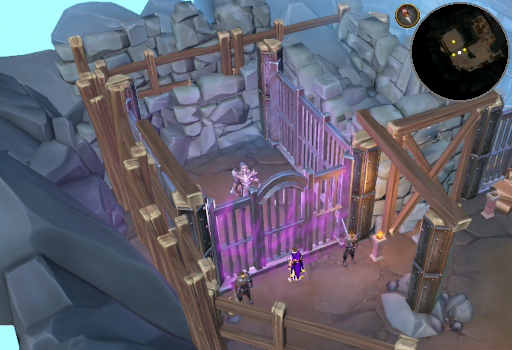
Return to Fort Forinthry and go down the floor hatch outside the East wall of the Command Centre. Here you will speak to Zemouregal in his cell. Like with Vorkath, there are multiple ways that you can take the conversation, however, this one the choices have a different chance of success depending on your boss, skill, and quest statuses. If you choose the "wrong" option, the conversation will end and you will have to start again. Best choices are as follows:
- "Mock his skeletal form." - Chat option 3
- If you have 120 Necromancy, you can choose "Show off your mastery of necromancy" (option 1) to skip to the end of the conversation.
- "Remind him of the other times you've defeated him." - Chat option 1
- Either chat option will work
- "What did you do to Vorkath?" - Chat option 3
- "I've heard enough." - Chat option 4
- "Mock his skeletal form." - Chat option 3
-
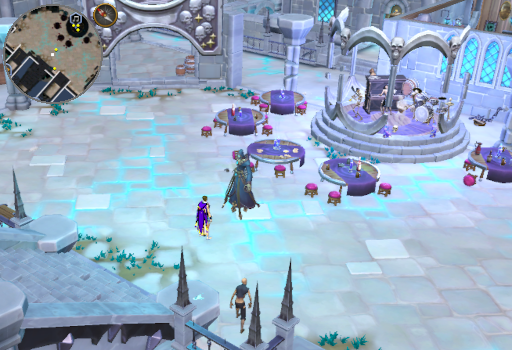
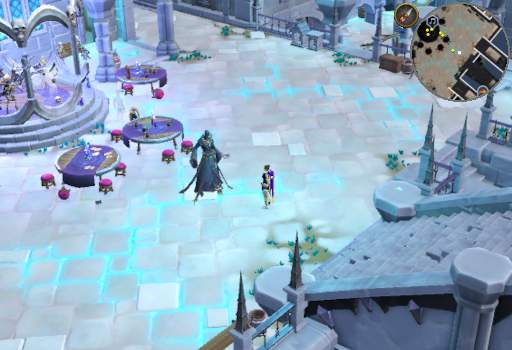
Make your way to the City of Um and talk to Death about the quest. He'll tell you that necromancers of the past would never have considered a ritual to help Vorkath pass on, but he might have a lead. Regardless of which option you choose, he'll tell you to talk to the Tree of Balance.
-
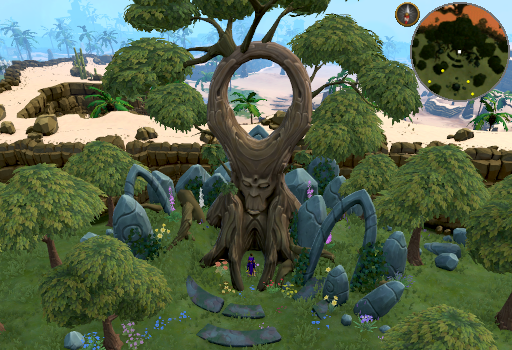
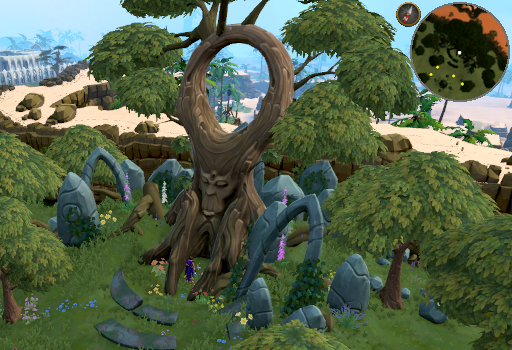
Head to the Tree of Balance, located South of the Archaeology Guild. Strike up a conversation about the quest. You can go through all the chat options to learn about the lore surrounding the site upon which the Tree was planted or you can simply ask to get straight to the point (Chat option 3). You will learn that the parts of the beacon were destroyed and brought to Guthix's Memorial.
Note: The fastest ways to reach the Tree of Balance are to use the Archaeology journal or a Digsite pendant to teleport to the Archaeology Guild and then go South. Alternatively, you can use the Varrock lodestone and run East.
-
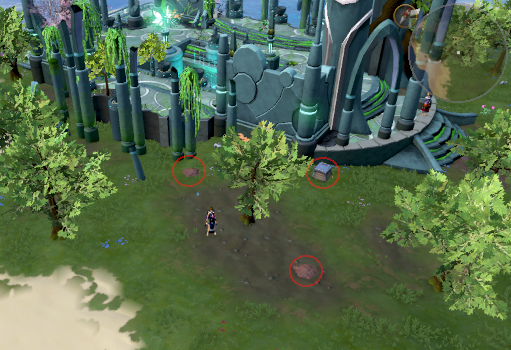
Make your way to the Memorial to Guthix. Just South of it, uncover the 2 Fertile soil hotspots. Excavate until you have obtained a Damaged soul beacon (base) from one of them and a Damaged soul beacon (core) from the other. There isn't a reason to use a Grace of the elves or a Sign of the porter as there is a material storage container just North East of the hotspots.
Note: The fastest ways to reach the Memorial to Guthix are to use Memory strand or the Sixth-age circuit to teleport there. Alternatively, you can use the Eagles' Peak lodestone and go North West.
-
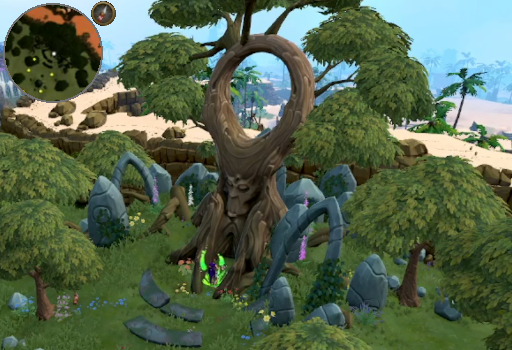
Return to the Tree of Balance and talk to it again. It will simply say "Be whole" and the two parts will become a Damaged soul beacon.
-
Make sure you have your 5 Greater ensouled bars with you and restore it at an Archaeology workbench (this will also require 30 White marble and 30 White oak, can be in material storage) to obtain a Soul beacon. The closest workbench is the one located North East of the Archaeology Guild, but any workbench will do.
-
With the beacon repaired, return and speak with the Tree of Balance once again. When you show it the restored beacon, you will be informed it has an inscription on it - "For cursed souls who have undergone change at an elemental level, may this beacon allow one to commune with them, cleanse them, and change their fate". You will then need to deduce the glyph order with the following chat options:
- "Deduce the glyph order." - Chat option 1
- "Change" - Chat option 4
- "Elemental" - Chat option 1
- "Commune" - Chat option 2
- "Change" - Chat option 4
-
Return to Death in the City of Um. He will tell you that the ritual must be completed twice: once in Um, to create an anchor point to which you can draw Vorkath's soul, and once near Vorkath proper.
-
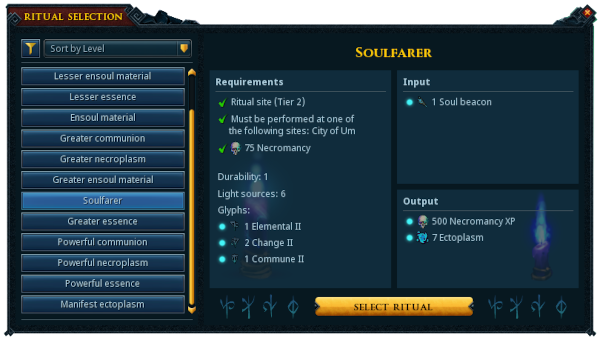
Ensure you have at least 4 Basic ghostly ink, 10 Regular ghostly ink, 16 Greater ghostly ink, and 12 Basic ritual candle then go to the Um ritual site. Select the "Soulfarer" ritual, place the candles, and draw the appropriate glyphs: 1 Elemental II glyph, 2 Change II glyphs, and 1 Commune II glyph. With the site prepared, perform the ritual. When it completes, you will get the Soul beacon back in your inventory.
-
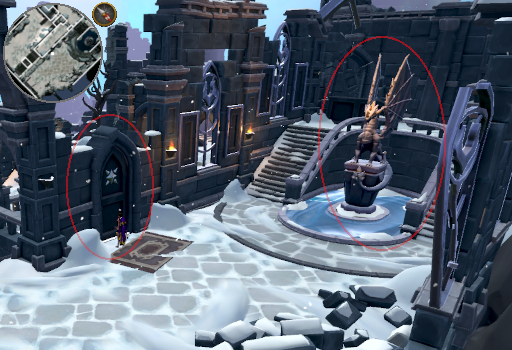
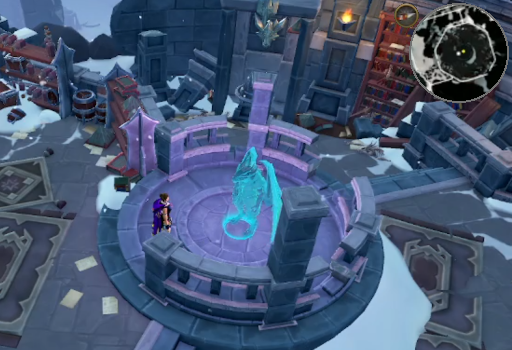
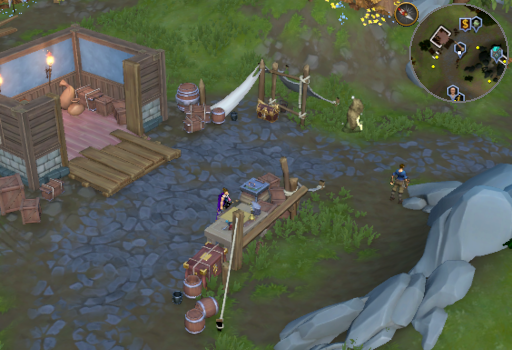
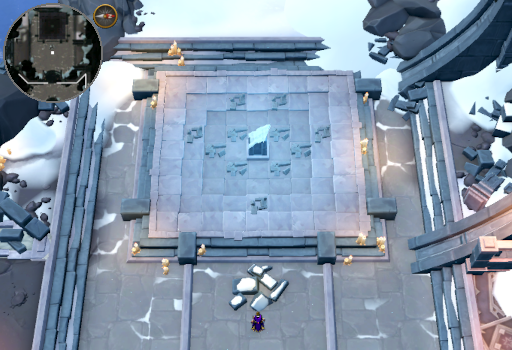
Return to Ungael using the rowboat at the fort. Enter the colossal cave once more and head North to the ritual site. Once there, you will need to repair all 13 of the ritual site's ruined spots: 5 glyph spots, 6 light source spots, the focus pedestal, and the ritual platform.
-
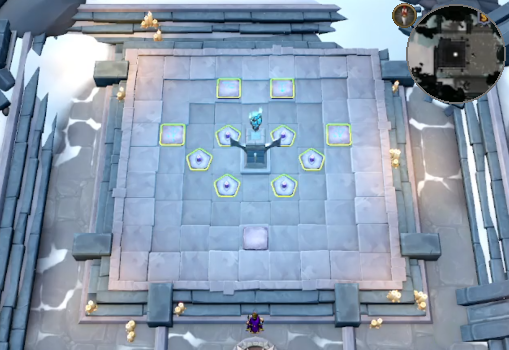
Once everything is fixed, set up all the glyphs and light sources as you did for the ritual in Um, then prepare for combat. Note that there is a bank chest to the North of the ritual site if needed.
-
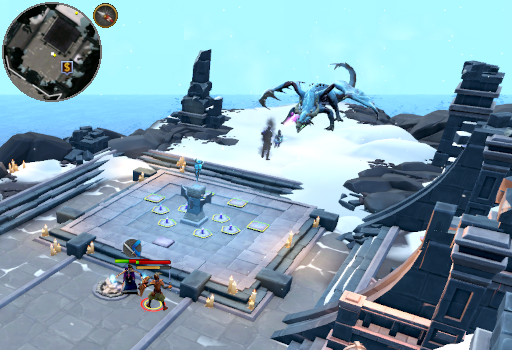
Attempt to start the ritual and a cutscene will occur in which Bilrach, Vengeance, and a mysterious relic will arrive to interfere with your ritual.
-
Read this whole step before you attempt to do the ritual again!
While you are trying to perform the ritual, Vengeance and Bilrach will be trying to prevent you from finishing it. There are two things to look out for while you do this:- Vengeance will appear on the ritual site and attack you. She strikes with Melee abilities and has over 50,000 life points. Kill her whenever she does. You will not be able to proceed with the ritual while she is present.
- Shadow rifts will appear on the ritual site. While they are present you will lose progress on the ritual, prolonging the time for Vengeance to kill you. Click them once to remove them then resume the ritual.
-
Head West to Vorkath's body and inspect it. Be sure to complete the dialog or you won't be able to progress.
-
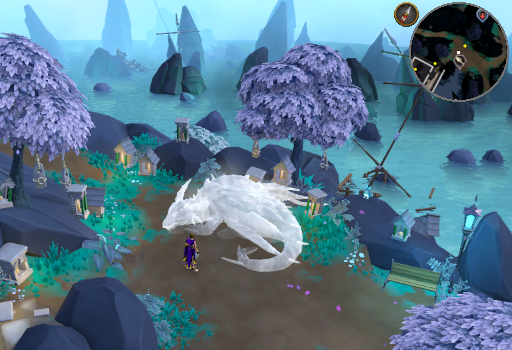
Make your way back to the City of Um. Head to the South side near the troll cave and ghostly sole fishing spot to find Vorkath and click to approach him. After a brief conversation, you will leave him alone to claim the rest he has earned.
-
Teleport to the Fort Forinthry lodestone and and go down the floor hatch outside the East wall of the Command Centre. Once below, talk to Zemouregal in his cell to confront him about seeing Bilrach. This will complete the quest and enable you to claim your rewards.
Congratulations, Quest Complete!

After completion of Requiem for a Dragon, you will have unlocked a new ritual site and have 3 Achievements which can be completed.
Soft Dragon, Warm Dragon
With The Shadow Realm and Zorgoth's Journal in your inventory, return to Vorkath in the City of Um - books can be reclaimed from the bookcase in your Player-owned House if lost or destroyed. Approach (Left click) Vorkath and you will note that he is unable to sleep. You will then begin reading to him from The Shadow Realm which will scare him. Since it isn't the best bedtime story, you will move on to Zorgoth's Journal which will successfully put him to sleep. This will complete the "Soft Dragon, Warm Dragon" Achievement for the Master Quest Cape. Books can now be destroyed.
Undead to Rites
Simply cast the Ungael Teleport incantation (uses 5 Spirit rune). This will complete the "Undead to Rites" Achievement for the Completionist cape and the Elite City of Um Area Tasks.
A Reptile's Dysfunction
Talk to The Archivist at the Ungael ritual site while wearing Zorgoth's ring. Once you have completed the dialog, continue to wear the ring and perform any rituals at that site (exception: Communion rituals). Each time you complete a ritual, there is a random chance that it will become Zorgoth's soul ring - guaranteed after completion of 100 rituals. Doing this will complete the "A Reptile's Dysfunction" Achievement for the Completionist cape.
Ungael Ritual Site
The Ungael Ritual Site functions very similarly to the Um Ritual Site, but has a few key differences.
- Bank chest right near the focus storage and ritual chest, allowing easier access of materials
- Ritual components all have 20% more durability (rounded down)
- Disturbances last slightly longer
- Disturbances and the rituals themselves award 20% less experience than if they were done at the Um Ritual Site
- As it isn't near your Well of souls, Communion Rituals cannot be performed
The real benefit comes from the fact that you have access to the entire ritual site as soon as you unlock it, allowing for more Alteration glyphs before level 90 Necromancy.
This Quest Guide was written by 3ter 1 and ChathMurrpau. Thanks to Sy Accursed for corrections.
This Quest Guide was entered into the database on Sun, Aug 25, 2024, at 12:43:31 AM by Chath, and it was last updated on Mon, Apr 07, 2025, at 02:02:54 PM by Robbie.
If anything is incorrect or missing, or if you have any new information to submit to this database, please submit it to us on our Content Submissions Forums.
If you see this guide on any other site, please report it to us so we can take legal action against anyone found stealing our content. This guide is copyrighted by RuneHQ, and its use on other sites is expressly forbidden. Do not ask if you can use our guides or images, the answer is and always will be NO!
Print this page with images - Back to the Quest Guide Index Page - Back to Top