
-
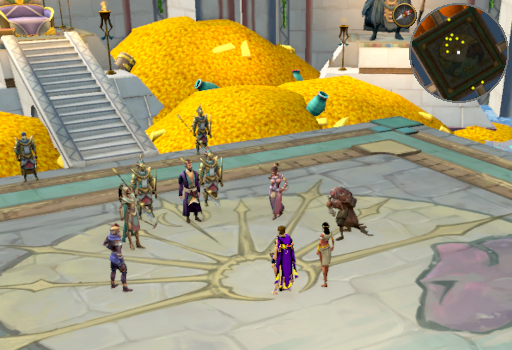
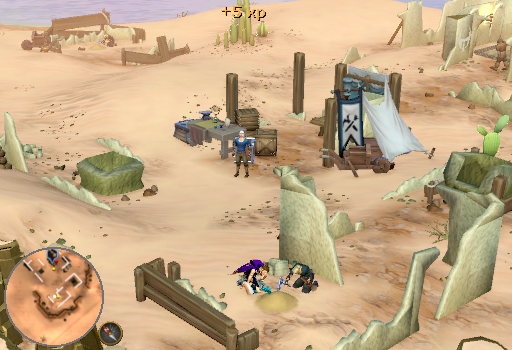
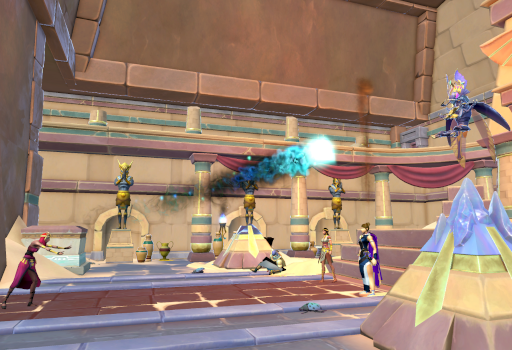
Talk to Pharaoh Osman, Chosen of Tumeken. You will find him besieged by his council about the state of Menaphos. When prompted, accept the quest. He will inquire about the recent uptick in the amount of Akh (Soul devourers) running around and you will inform him what you know of Amascut's plans. He will declare that you need to locate Scabaras before Amascut can but Leela and the council will object. Insisting that reestablishing trade with the Northern settlements should come first. Osman will send you to collect reports from officials in 4 other settlements: Al Kharid, Pollnivneach, Nardah, and Sophanem.
-
With your orders, and promise of compensation, clear you will now need to collect the reports from the officials in each of the other desert cities. This can be done in any order, but here we will cover them alphabetically as per usual.
-
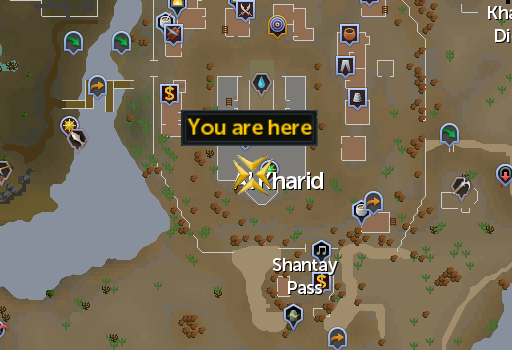
Al Kharid:
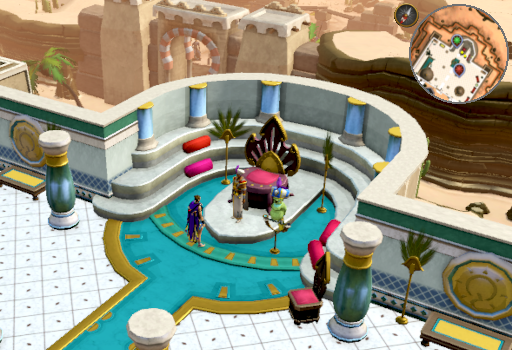
Make your way into the palace and talk to Emir Ali Mirza about the quest. Respond to his thoughts on Osman however you prefer. Regardless of your choice, when the conversation ends you will be given the Report: Al Kharid.
Note: The fastest way to reach the palace is by taking the Al Kharid lodestone.
-
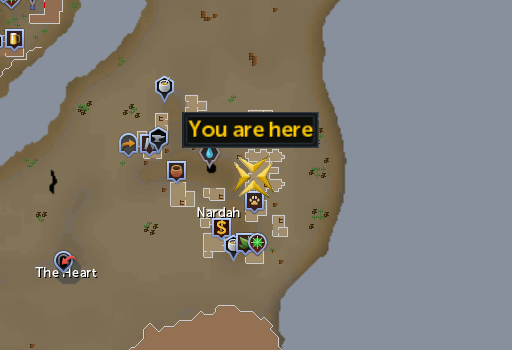
Nardah:
Make your way into the house just East of the central fountain and talk to Awusah the Mayor about the quest. You will briefly discuss how things are going before receiving the Report: Nardah.
Note: The fastest method to reach Nardah is by using the teleport of a Desert amulet (2, 3, or 4). Otherwise your best bet is to take a carpet ride from any of the other locations.

-
Pollnivneach:
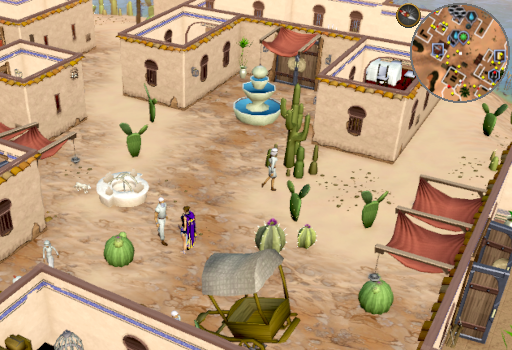
Make your way the East house with the fountain out front and look for Hakeem the Mayor, wandering between the well and his home. Choose to talk about the quest when prompted and you will chat about how the city is fairing. Complete the dialog to obtain the Report: Pollnivneach.
Note: The fastest way to reach Pollnivneach are by using a Ring of slaying/Slayer cape teleport to Sumona or a Pollnivneach Teleport. Without them, taking a carpet ride is the best option.
-
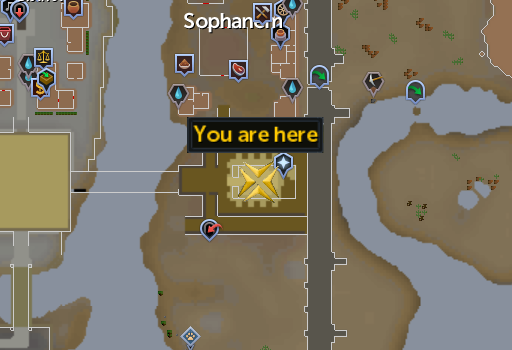
Sophanem:
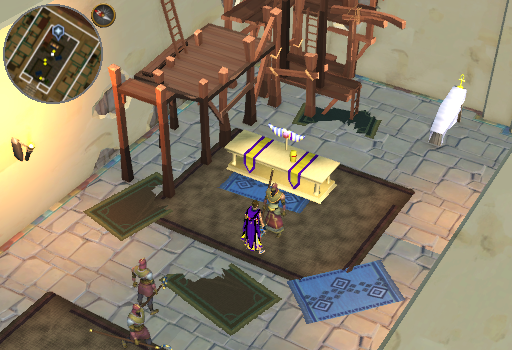
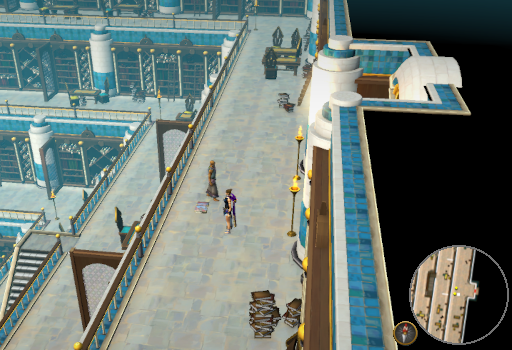
Make your way into the Temple directly across the bridge from Menaphos and talk to the High Priest. Ask about the quest and he will tell you about Scabaras before giving you the Report: Sophanem. Additionally, he will recommend that you talk to the Sphinx or Jex to learn more about Scabaras.
Note: The fastest way to reach the High Priest's temple is to use a Sophanem Slayer Dungeon teleport, closely followed by simply taking the Menaphos lodestone and talk to the guards by the East gate, then running across the river.
-
Al Kharid:
-
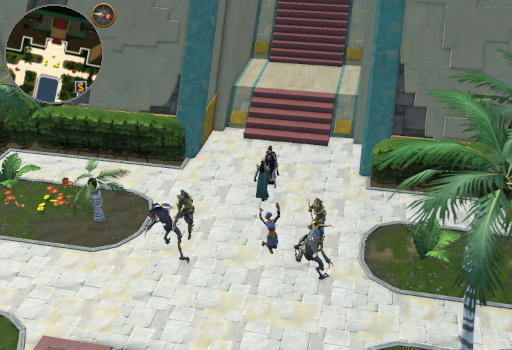
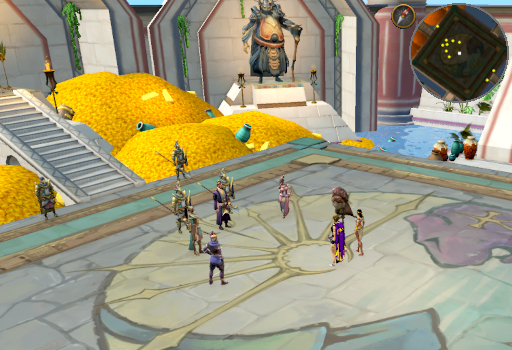
Keeping the reports in your inventory, gear up for combat - including poison protection is recommended. Return to the Menaphos throne room and continue the quest when prompted. Amascut's forces will attack before you can enter the palace and you will drop the reports in the commotion. In the Imperial district, there will be 4 Profane Scarabites for you to kill and 4 Corrupted scarab to squish.
-
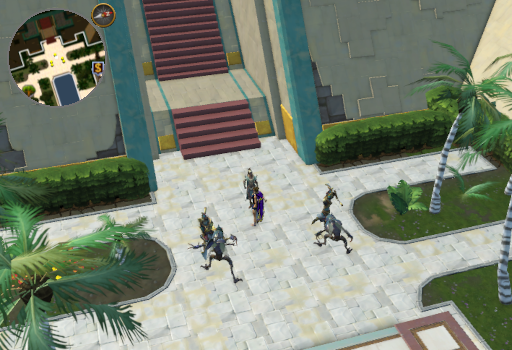
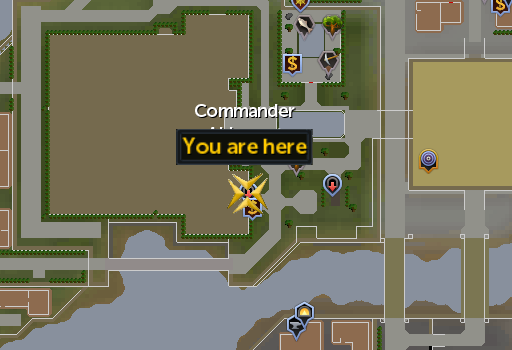
Once all 8 creatures have been cleared out, Commander Akhomet will tell you that they're invading the main plaza as well. Head East and do the same thing: kill 4 Profane Scarabites and crush 4 Corrupted scarab.
-
With the last set of monsters defeated, return to Commander Akhomet, East of the palace, and talk to her. She'll tell you that she will make sure the reports get delivered. In the meantime, you should go report to Osman and the rest of the council while she and her guards make sure "our city is rid of these foul creatures."
-
Enter the palace and talk to Pharaoh Osman again. After updating everyone on the situation outside, they will decide that the threat of Amascut needs to be dealt with sooner rather than later. Osman will ask you and Leela to head the mission, telling you that one of his agents has uncovered something useful in the grand library.
-
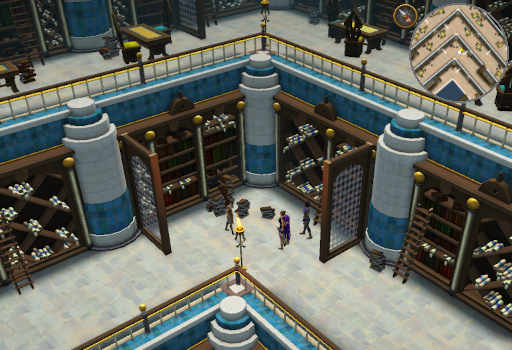
Exit the palace and go slightly South to the entrance of the grand library, continuing the quest when prompted. If desired, you can briefly talk to to Kohnen's assistant (the flying book) to have it lead you to Leela and Maisa, located in the South West corner of the 3rd level down. Or you can just walk down to them.
-
Maisa will tell you that the book that might help is in this section of the library, but she found it a few missions back and hasn't been able to relocate it. Search the bookcases in that corner to find a book entitled "The Shiny Scarab". You will always find it in the 4th bookcase you search. Once you have it, talk to Maisa again and she will point out the passage that might be useful:
"The god's aureate sanctum holds the knowledge accrued from millennia dreaming in sacred salitude. Should once seek his truth, his visage to behold one need only a scarab, cast wholly of gold. If one's heart remains pure, guidance it shall bring a path lit by the glimmer of its gilded wings."
Leela will suggest chatting with Queen Senliten to see if she has any ideas on what the clue means.
-
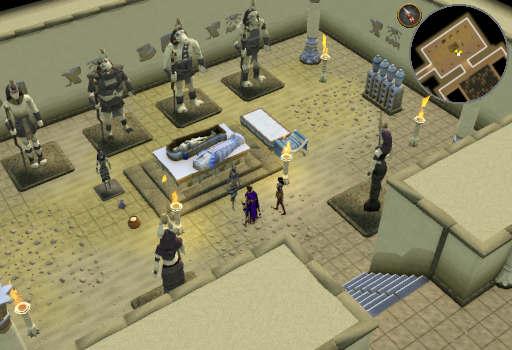
Make sure you have your restored artefact from Kharid-et and some empty inventory space (at least 4, but more is better), then head to Uzer and enter Senliten's pyramid to the South. Choose to go directly to the queen pharaoh when prompted. Talk to Senliten and she will tell you that the golden scarab in question was kept in Uzer when she was still alive, but it's possible that it was raided in antiquity, which would make locating it much more difficult.
Note: The fastest way to reach Uzer is by using the Desert amulet 4 teleport or taking a carpet ride.
-
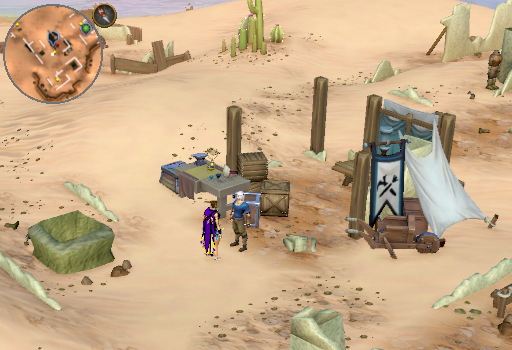
Right click on Leela and choose to return to the surface to save yourself some time or simply teleport out if you have the option. Once back to Uzer, talk to Lead Archaeologist Kerner. He'll tell you that they did find an artefact matching the description of the golden scarab, but he's not willing to just give you the only notable find at this dig. You will suggest giving him a restored artefact from Kharid-et to take its place and he will agree to the trade. Talk to him again and give him your artefact when prompted to receive a Golden scarab (damaged) and a Screening tray.
-
Go to where any of the other archaeologists are digging in the Scorched sand and click to gather some. Whenever your inventory gets full, click the Screening tray to sift through the Scorched sand. The Ancient gem shards you will commonly find aren't useful and can be thrown out as you see fit. Continue sifting until you have found 2 Ancient ruby and 30 Kharidian gold, then use the archaeologist's workbench by Lead Archaeologist Kerner to restore the artefact and obtain a Golden scarab (Beneath Scabaras' Sands) (requires 86 Archaeology).
-
Return to the Menaphos throne room and talk to Osman to update everyone about what you've learned and accomplished. Osman will insist on a bodyguard named Coenus accompanying you and Leela. She will resist slightly, but agree and tell you to meet them outside the city gates.
-
With the Golden scarab (Beneath Scabaras' Sands) in your inventory, gear up for more combat (once again including poison protection is recommended), then meet Leela outside the gates to Menaphos. Speak with Leela briefly to proceed (conversation must be completed). You are now going to be following the Scarab to find Scabaras' resting place.
-
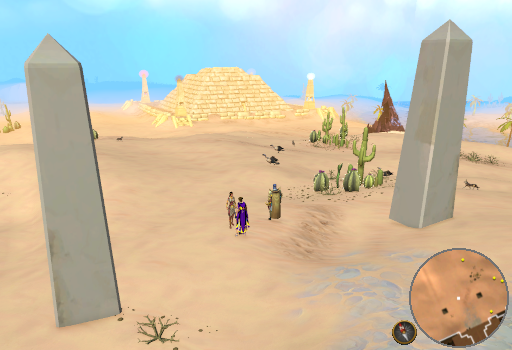
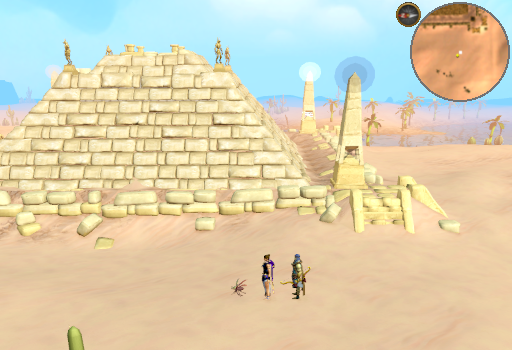
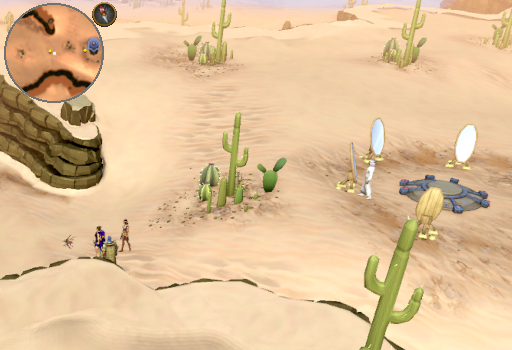
Click the Golden scarab (Beneath Scabaras' Sands) in your inventory to release it and it will fly North. Follow it and you'll be able to catch up between the quarry and the pyramid explored at the end of Desert Treasure. From here you will be clicking on the Golden scarab each time you catch up to it, then seeing where it goes.
-
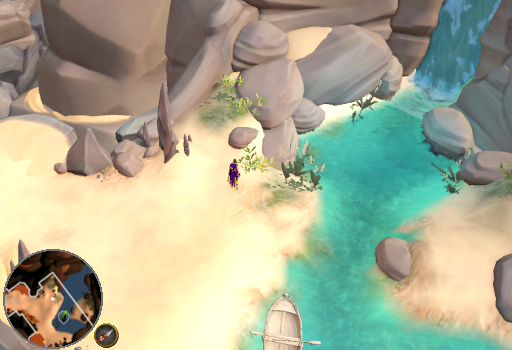
This time it will head towards the Bandit Camp. Go North until you spot it again, just West of the Bandit Camp lodestone.
-
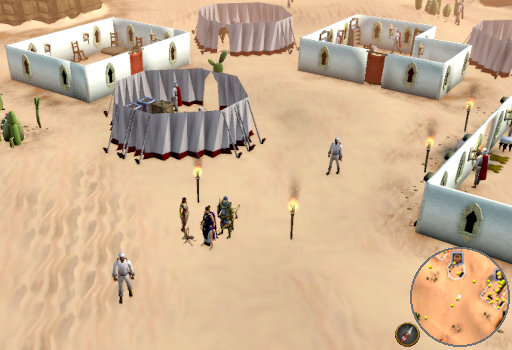
Click the scarab again and it will go through the Bandit Camp. Make your way to the North side and you'll find it there.
-
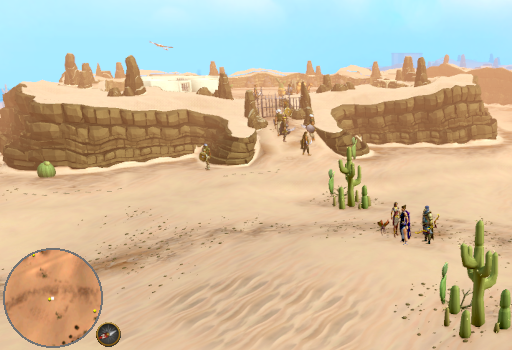
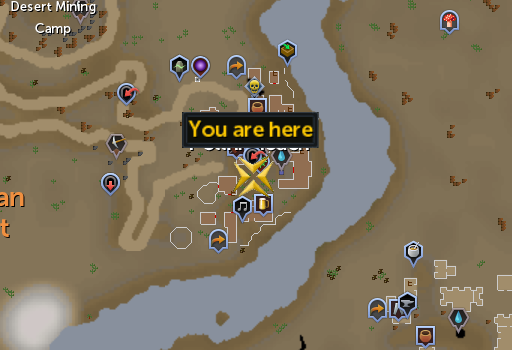
From the Bandit Camp it will next fly North East towards the Desert Mining Camp. Run after it and you'll find it just West of the camp.
-
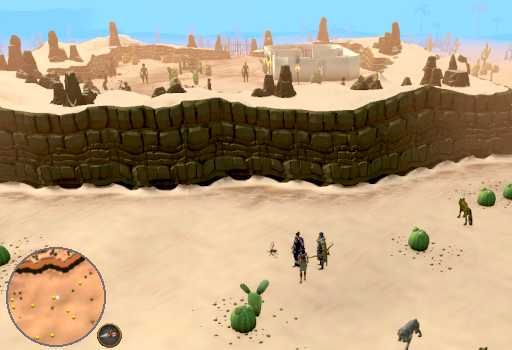
This time the scarab will irritatingly fly over the Desert Mining Camp. Make your way around it and you'll catch up to it on the East side.
-
This is the last time you'll be outside following the scarab. It will take you South to the cave of Profane scabarite.
-
The scarab will fly into the cave. When it does, you will stop for a conversation with your companions. Enter the cave and continue the quest when prompted.

-
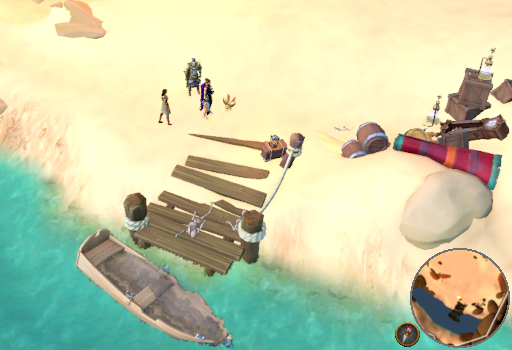
Continue South into the cave until you reach the golden scarab by the edge of the river. Click it and Leela will say that you will need to repair the boat to continue following the scarab.
-
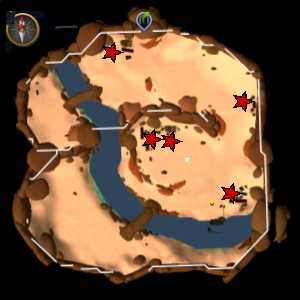
Make sure you are ready for combat then scavenge the debris piles to get Boat materials (Beneath Scabaras' Sands). While searching, 2 of the piles will spawn Profane Scarabites that you will have to kill, you will then find Boat materials (Beneath Scabaras' Sands) with the rest of their loot. In total there are 5 piles in the cavern to search.
When you are near the table, it is worth searching the papers there to find a Scruffy note and read it. This will complete the "A bug in the system" achievement, which is a requirement for the Master Quest Cape.
-
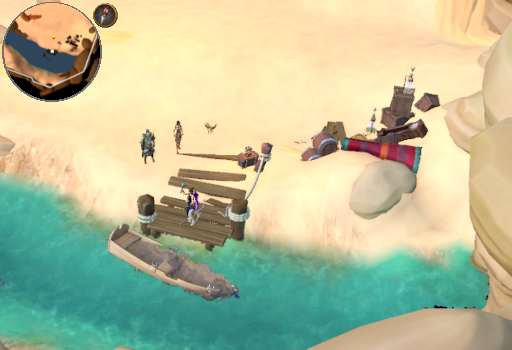
When you have 5 Boat materials (Beneath Scabaras' Sands), return to the boat by the river and repair it. Then click it again to travel up the river.
-
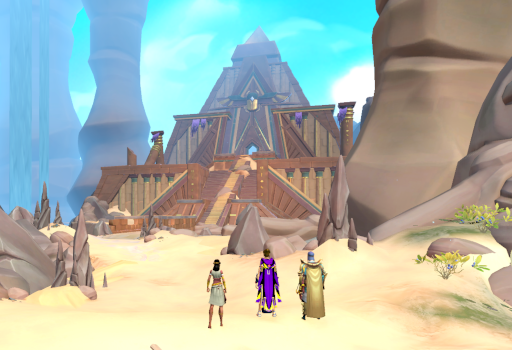
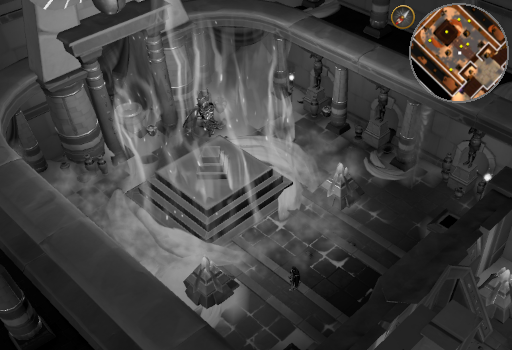
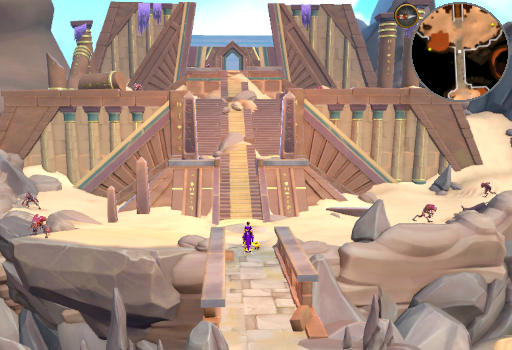
A cutscene will show you the enormity of the Temple of Isolation as you arrive there.
-
Click the Golden scarab (Beneath Scabaras' Sands) in your inventory to release it and it will fly North. Follow it and you'll be able to catch up between the quarry and the pyramid explored at the end of Desert Treasure. From here you will be clicking on the Golden scarab each time you catch up to it, then seeing where it goes.
-
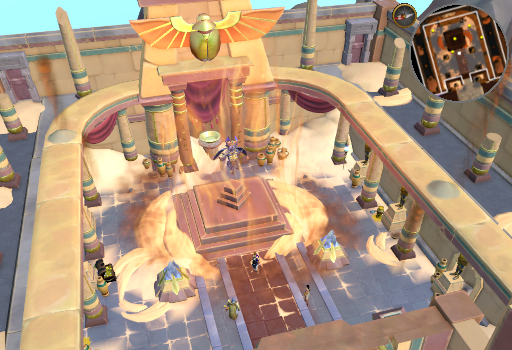
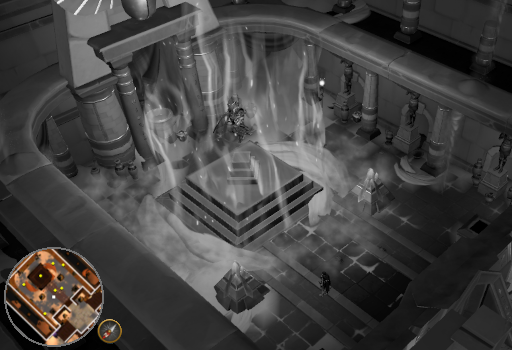
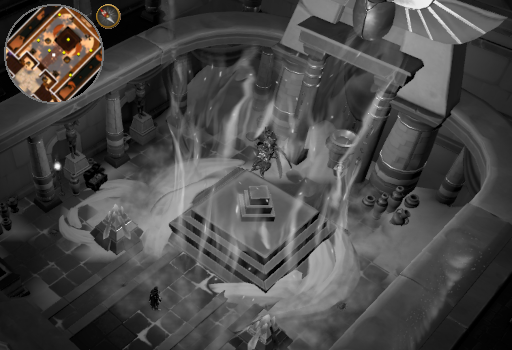
Make the long climb up the stairs of the temple and talk to Scabaras, hovering above a raised dais in the center. He will not respond.
-
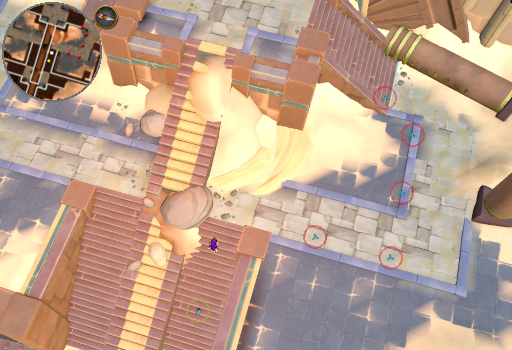
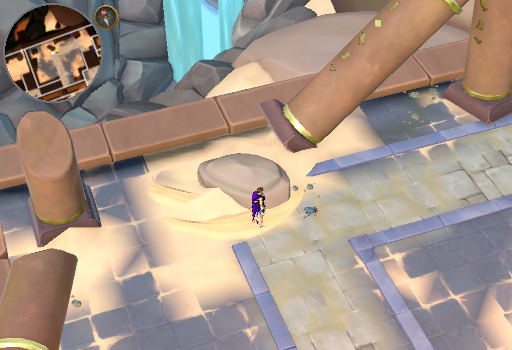
Climb back down the stairs outside and you will encounter Fear, a scarab on the sand. Interacting with it will make it run in the opposite direction. Use the image and table below to guide you. Your goal is to scare it into the temple with Scabaras and the other scarabs there: Disdain, Empathy, Passion, and Shame.
- Stand to the South of Fear and scare it North.
- Stand to the West of Fear and scare it East.
- East again.
- Stand to the North of Fear and scare it South.
- South again.
- Stand to the West of Fear and scare it East.
- East again.
- East again.
- Stand to the South of Fear and scare it North.
- North again.
- Stand to the West of Fear and scare it East.
- East again.
- Stand to the North of Fear and scare it South.
- Stand to the South of Fear and scare it North.
- Stand to the West of Fear and scare it East.
- Stand to the North of Fear and scare it South.
- South again.
- South again.
- South again.
- Stand to the West of Fear and scare it East.
- Stand to the East of Fear and scare it West.
- Stand to the South of Fear and scare it North.
- Stand to the West of Fear and scare it East.
- East again.
- East again.
- East again.

-
When Fear enters the room you will enter a memory in which you will be the voice of Scabaras while talking to Tumeken. When given prompts, the questions being asked will be in a random order. Respond using the options below to guide you:
Prompt: Mention of his children would have given him pause.
Response: Amascut and Ichthlarin are not ready.
Prompt: What if we had proposed an alternative?
Response: There has to be another way.
Prompt: What would Lady Elidnis have thought?
Response: What insight has Lady Elidnis provided?
-
When you leave the memory, Coenus will suggest that you break the pylons to bring down the barrier and let Scabaras out. Whether or not you agree with this plan doesn't matter. Leela will insist that you don't. Instead you will be tasked with bringing in another 2 scarabs: Ego and Melancholy.

-
Climb back down the stairs outside and you will encounter Ego who is searching for food. Head West across the bridge to the river and you will find some Cavern dwelberry bushes at the water's edge. Collect as many Cavern dwellberries as you can carry. Unless you have enough space for 15 or so, you will likely need to get more partway through the next step.
-
Return to Ego at the base of the temple and lure it into the temple by dropping the Cavern dwellberries no more than 5 tiles away. Each time, Ego will run to the tile with the berries and eat them. Keep in mind that Ego can't detect berries when they are around the corner of terrain, but you can place them in a path starting farther from Ego and work your way back as in the image. Use caution while placing the berries as you can eat them yourself and thus may require additional bunches if you run out.
-
When Ego enters the room, the remaining Cavern dwellberries will vanish and you will enter a memory in which you will be the voice of Scabaras while talking to Amascut. When given prompts, the questions being asked will be in a random order. Respond using the options below to guide you:
Prompt: Taking a firmer stance against her transgressions may have dissuaded her.
Response: That is unacceptable!
Prompt: What if we had challenged her perspective?
Response: Your father sought to protect you.
Prompt: What if we had placated her?
Response: You are right.
-
When you return to consciousness, Leela will check if it worked. Since you still have not contacted Scabaras directly it obviously hasn't. Thankfully there is one more scarab outside. Head back out and down the North flight of stairs to encounter Melancholy. Steering this one isn't necessary, as it will always go the right way, but it will give up on making progress every few tiles. Every time it does, interact with it again to motivate it using the options below as a guide. The first 3 prompts are random (can be repeated), but the last one will always be pausing just shy of its destination.
Prompt: Daunted by how it struggles to complete such a simple task, it freezes.
Response: Give it a moment.
Prompt: The scarab loses all motivation to keep going.
Response: Promise it a reward.
Prompt: Unable to handle light exercise without rest, the scarab flops onto the ground.
Response: Give it a nudge.
Prompt: The Scarab is overcome with existential dread and collapses.
Response: Perform a rousing speech.
Prompt: The scarab pauses just shy of its destination. Without this task, what purpose does it have in life?
Response: Perform a rousing speech.
-
When Melancholy enters the temple you will actually get to talk to Scabaras! As it turns out, Osman is the one who orchestrated the attack on Menaphos. You will see a cutscene in which Coenus proceeds to break the pylons to drop the barriers around Scabaras, as per Osman's orders. His goal is to slay Scabaras so that Amascut can't get what she needs from him. Amascut will show up before Coenus can kill Scabaras. Scabaras will tell you that Amascut's influence is preventing you from returning to the waking world.
-
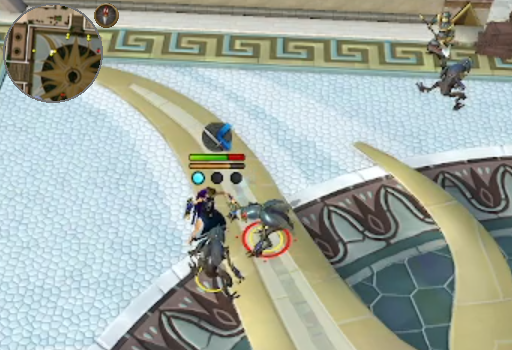
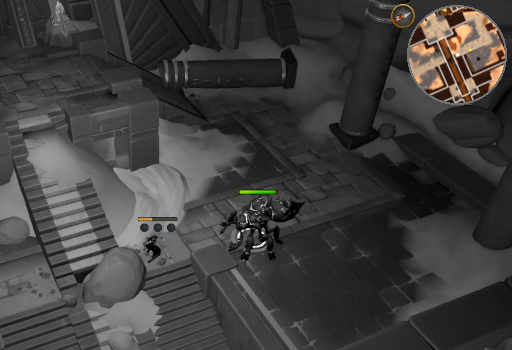
Go outside the temple and down the South Eastern flight of stairs. You will find a new scarab, Grief, and remark that something about it seems different. Stomp on it 3 times and it will turn into a creature resembling a kalphite. It has over 80,000 hitpoints and can hit over 1,000 damage through animate dead, so it's no pushover. Bright side is it can be safe spotted from the top of the lower set of stairs (as seen below) or the top of the upper set of stairs if your weaponry has some range. Once it's dead, head back inside the temple and talk to Scabaras.
-
You will wake up to see Amascut fail to get what she wanted, the last spark of her father's power. She will present an ultimatum: you have until the new moon to retrieve it and present it to her. If you don't, "the shadow of the sun will be cast over the city of Menaphos. And I will consume every soul within its walls." Scary!
-
Scabaras will teleport you out. You can ask whatever questions you like (or not). When you choose the option to continue the quest, you will finish up and receive your rewards.


Congratulations, Quest Complete!
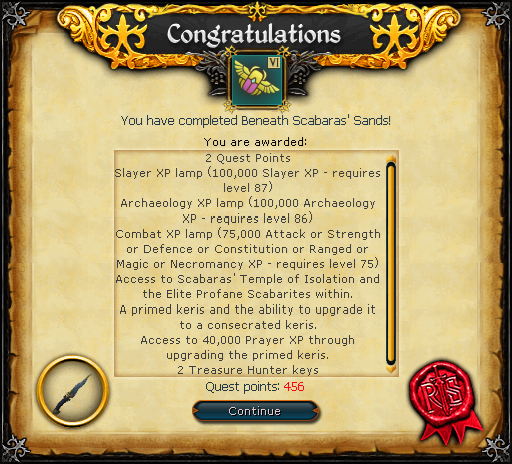
Talk to Scabaras and he will give you a Primed keris and ask that you kill 200 Elite Profane Scabarites with it. They can be found in the Temple of Isolation. Killing 200 of them with the Primed keris will turn it into a Consecrated keris, award 40,000 Prayer xp, and complete the "Another One Scabarites the Dust" achievement. While slaying the Elite Profane Scabarites, you can obtain Priest's notes as a drop. Reading it will complete the "Bugs in the Walls" achievement. Note that both achievements are required for the Master Quest Cape.
This Quest Guide was written by Sy Accursed, 3ter 1, ChathMurrpau.
This Quest Guide was entered into the database on Sun, Feb 16, 2025, at 03:01:23 PM by Chath, and it was last updated on Sun, Apr 20, 2025, at 11:03:56 PM by Chath.
If anything is incorrect or missing, or if you have any new information to submit to this database, please submit it to us on our Content Submissions Forums.
If you see this guide on any other site, please report it to us so we can take legal action against anyone found stealing our content. This guide is copyrighted by RuneHQ, and its use on other sites is expressly forbidden. Do not ask if you can use our guides or images, the answer is and always will be NO!
Print this page with images - Back to the Quest Guide Index Page - Back to Top